In July (2025) I went to a one-day workshop in Norfolk run by David Pagan Butler. Having your own swimming pond is very appealing and some of those that it appeals to clearly have large budgets – judging by the Youtube promotions by companies offering expensive installations. Pagan Butler’s approach is very much self-build with low-cost materials. Here are my slightly un-understandable notes and some short videos.
Organic Pond workshop
Also see another self-builder http://www.youtube.com/@manuelangerer-permaculture
Materials
UK grown larch can be useful
Clay can be a source of phosphate. You can buy a phosphate meter
Rainwater harvesting is the best source of water to fill a pond. Borehole water is ‘generally pretty good’ but run off water from the ground is the worse.
It is good to wash the gravel or whatever aggregate you use for the planting area before laying. You can use 20mm coarse gravel or 4/10mm pea shingle (https://www.aggregatessupplier.com/product/4mm-10mm-shingle/) and sharp sand mixed 50:50. Gravel is more expensive. Q: how to calculate the amount of aggregate needed? Area by depth?
You can run a bubble pump/aerator from solar power with a set up like mine in the shed.
The pond won’t attract mosquitos because of the many predators and because the water is constantly moving. Mozzies like still water (like a standing bucket).
Basic design principles
The pool needs to be isolated from groundwater and a plastic sheet is the best way to do it.
Aim for (at least) 50:50 proportion swim zone to planted zone by area (because it is to do with the amount of sunlight).
For the skirt/gravel area build with a 1:3 slope with a total of a 1m fall and then a further 1m dig for the swimming zone making the overall depth 2m. A 2m depth helps swimmers not to keep disturbing any sediment at the bottom and causing cloudy water.
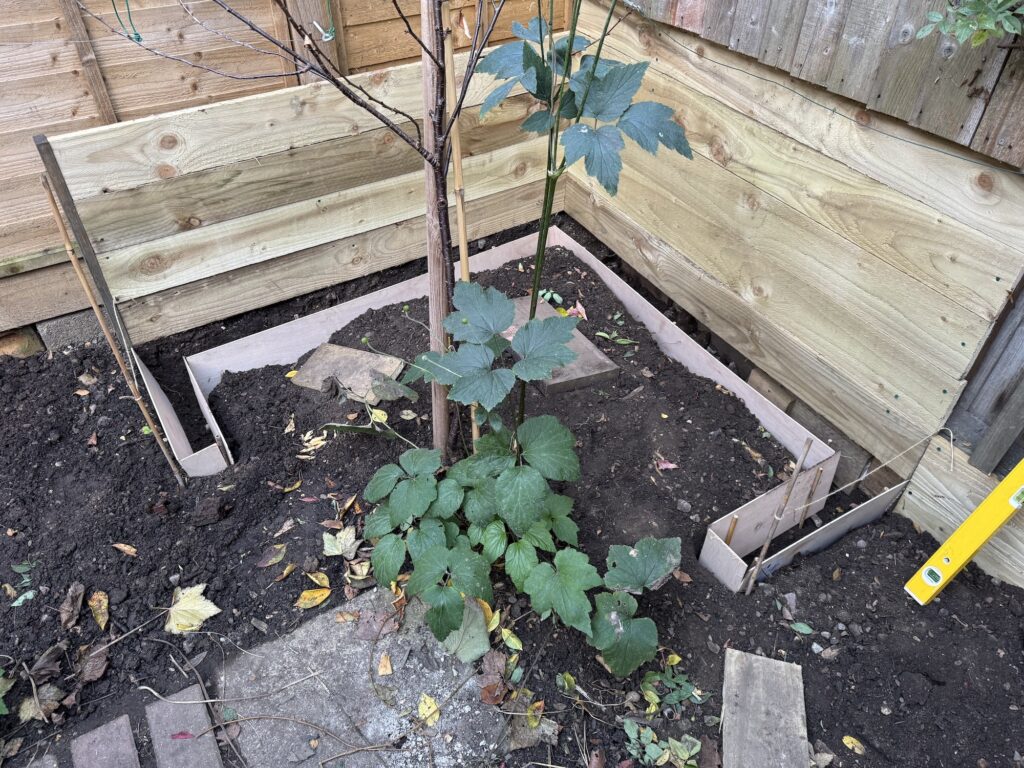
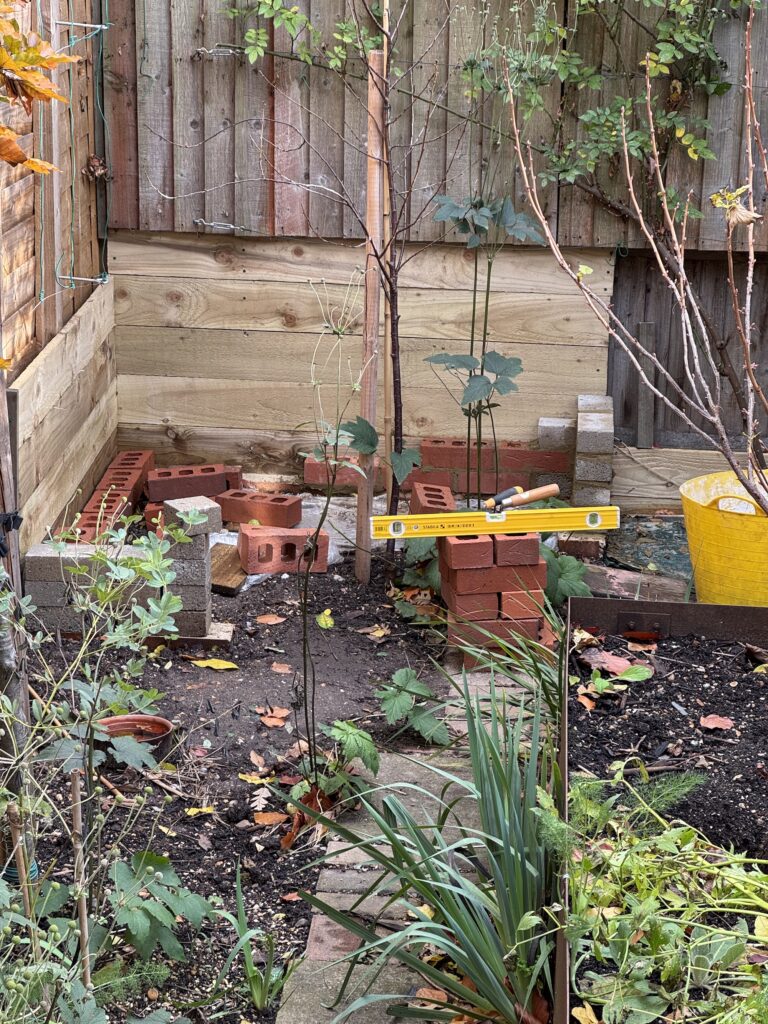
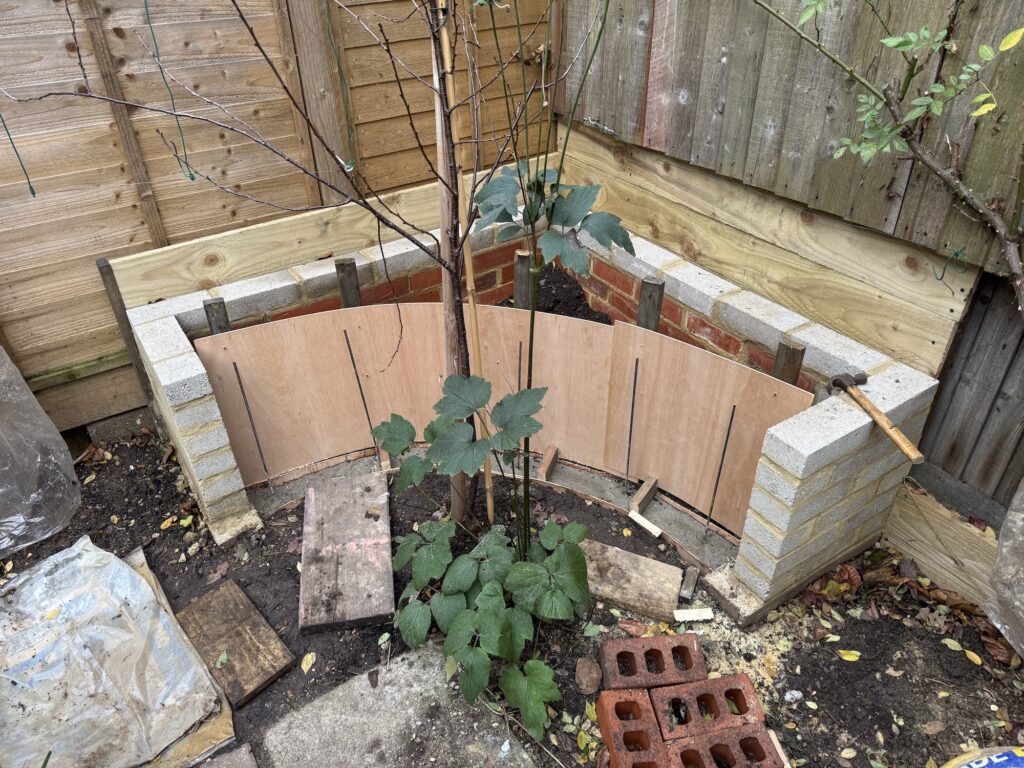
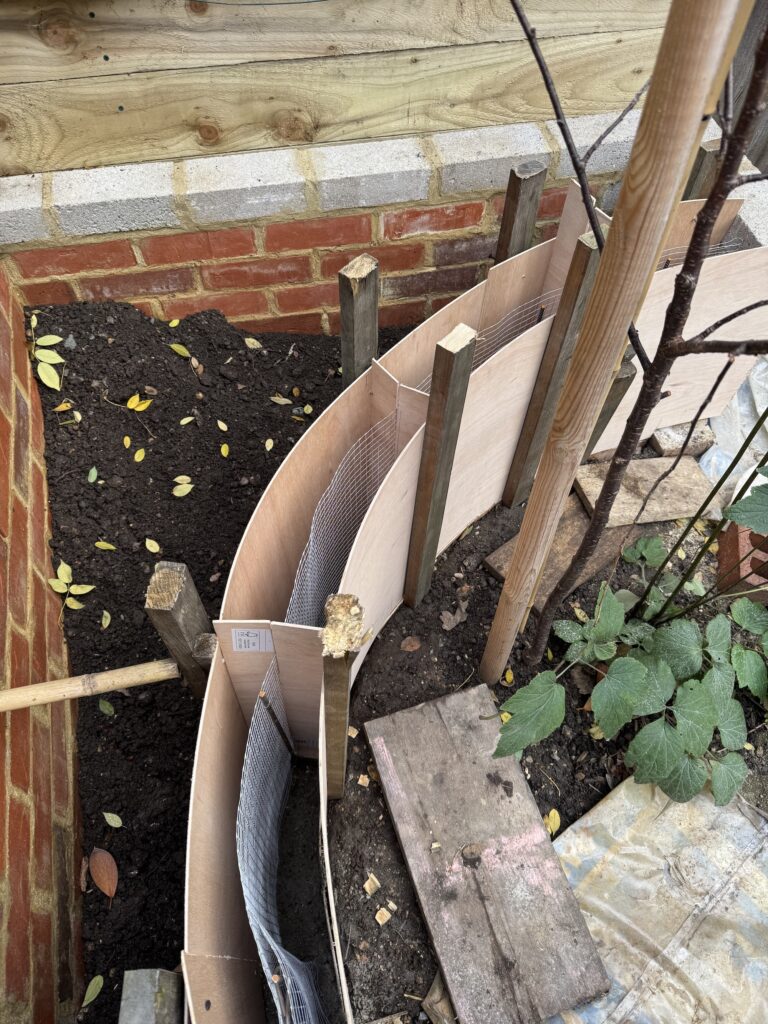
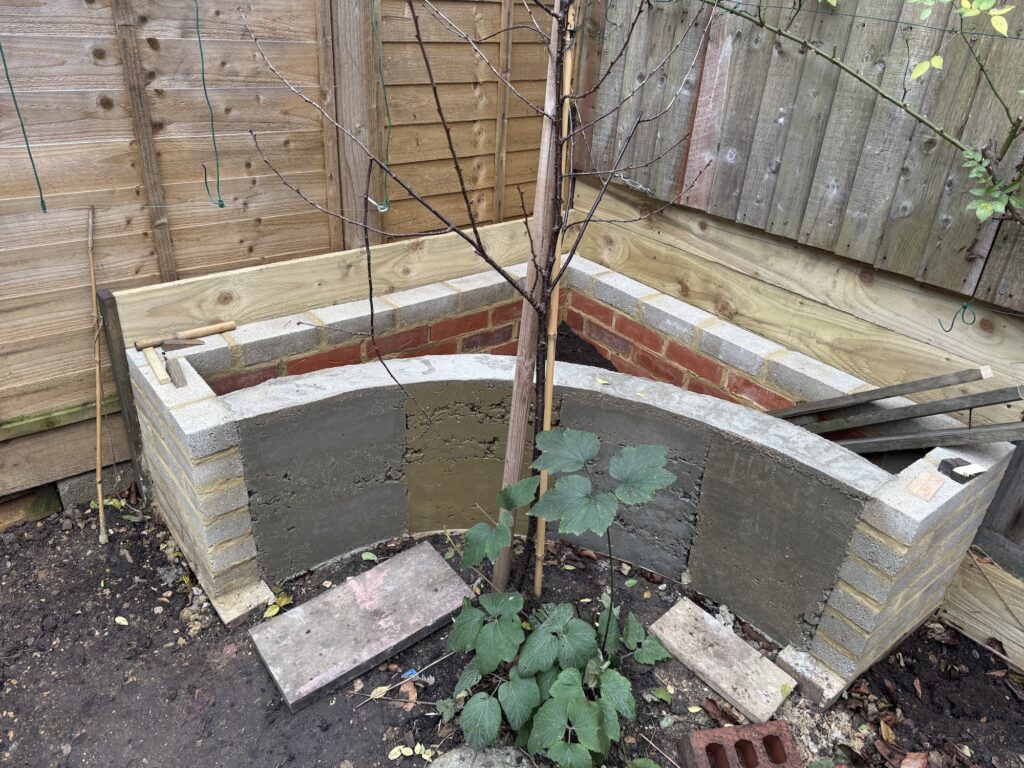
Dig a strip foundation ( 6 inches or so) for the blockwork walls. Walls to be 1m high but with a 400mm barrier/top to stop the gravel of the planted zone sliding in to the water. This can be made out of timber. There’s no need for a concrete floor – just smooth out the ground before you apply the fleece.
For the inner walls some have used blockwork laid on its side or build in the normal way on its edge (needs 5 courses). Be careful with backfilling behind the wall. Backfill with sharp sand especially if the ground is clay as this can get so heavy when waterlogged it can make the walls collapse. Aim to backfill as little as possible by digging the initial hole as accurately as possible behind where the dig goes vertically down from the skirt/slope.
20 by 18 metre liner with half price fleece costs about £4000 from the above supplier. Alternatively the liner can be made of pvc but this needs to be welded on site by professional installers so is more expensive. Laying EPDM in a single sheet is best.
Folds can be tricky but you need to fold around your design. More irregular shapes make folding difficult, requiring pleats.
Laying a concrete base is ‘rock solid’ but expensive (and not needed – because later DPB (David Pagan Butler) says don’t do it – just smooth out the ground). But if your digging takes you below the water table then lay something on top of the liner, otherwise rising water will cause your liner to balloon out. (Paving slabs might work) If clay ground then use a concrete base then the liner then more concrete to sandwich the liner.
Do you need the planted/regeneration zone on both sides of the swimming area? As long as there is good circulation this should work.
The slope of the regeneration zone has to be linear to stop the plants sliding down. It needs to be a 1:3 slope. If there is an end stop in place the gravel will stay in place and not fall into the water. Have 300mm depth of gravel and a 400mm topping to the blockwork (which can be made out of wood/sleepers). A new discovery is Recy-Edge lawn edging for the top https://www.thegardenrange.co.uk/p/garden-edging/lawn-edging/recoedge-plastic-garden-edging-plank/.
You need a design around the rim of the pond that stops run off water from the surrounding area flowing into the pond. One way is a kind of pyramid build of cement (a concrete haunch) with the liner layers sandwiched in the inside and on the outside gravel with a French drain running around it. https://greenfrogwaterproofing.com/why-install-a-french-drain-in-your-property/ and https://www.timberwise.co.uk/blog/what-are-french-drains-and-how-do-they-work/
Make the edge so that all 3 layers (fleece/liner/fleece/) end up vertical. Hammer in pegs to define the edge. The water is to rise to 4 inches below the top then a plastic strip.
Another approach to designing this edge is to use lawn edging (as referenced above). This barrier needs to be built all around the pool.
Bill’s pond in Norfolk goes to 2m immediately from the house. His approach: dig the hole/shutter for the concrete steps then liner over that then liner and fleece ??
Insulation (at the bottom) is not needed and is a waste of money.
Don’t add fish to the water as they produce nutrients
Planting and Suitable plants
Pickeral weed – blue flower
Purple strife
Cuckoo flowers
Fringe Lilies
Blue Iris or Siberian Iris
Dragon Iris
There is no good or bad time to plant.
DPB has a high density of plants so that the pool is working well because the plants are depriving the algae of nutrients
DPB built a floating tyre covered in fleece then hessian to plant in.
Bubble mechanics and design
The smaller the pipe that the bubbles rise through the faster and higher the rise of the water. Four inch pipe doesn’t lift water but if its low enough in the water it will move a considerable amount of water. A rule of thumb – one (?3 inch) bubble pump outlet pipe for every 5m linear. 68mm rainwater pipe (its standard drainpipe) is cheap. Koi pipe is more expensive. https://www.elitekoi.co.uk/collections/pipework-fittings because it is purpose made for ponds. Anything that says its designed for ponds seems to be sold at a premium.
The vertical pipes need to be ?100m high ? from the bottom?
The compressor pump: no need to be working in the winter. His is on a timer and only runs during daytime in the summer. (One website says keep running constantly) His is a Hailea Air pump https://www.onestopgrowshop.co.uk/products/hailea-aco-super-silent-air-pumps . The pump can be quite remote from the pond – for electrical safety He has six airstones all at the same depth. You need to use airstones in order to create bubbles not just move the water. Have the same length of pipe to each one. Having them all supplied from a loop ensures the same pressure to each one – like a 13A ring main in a home – all have the same voltage.